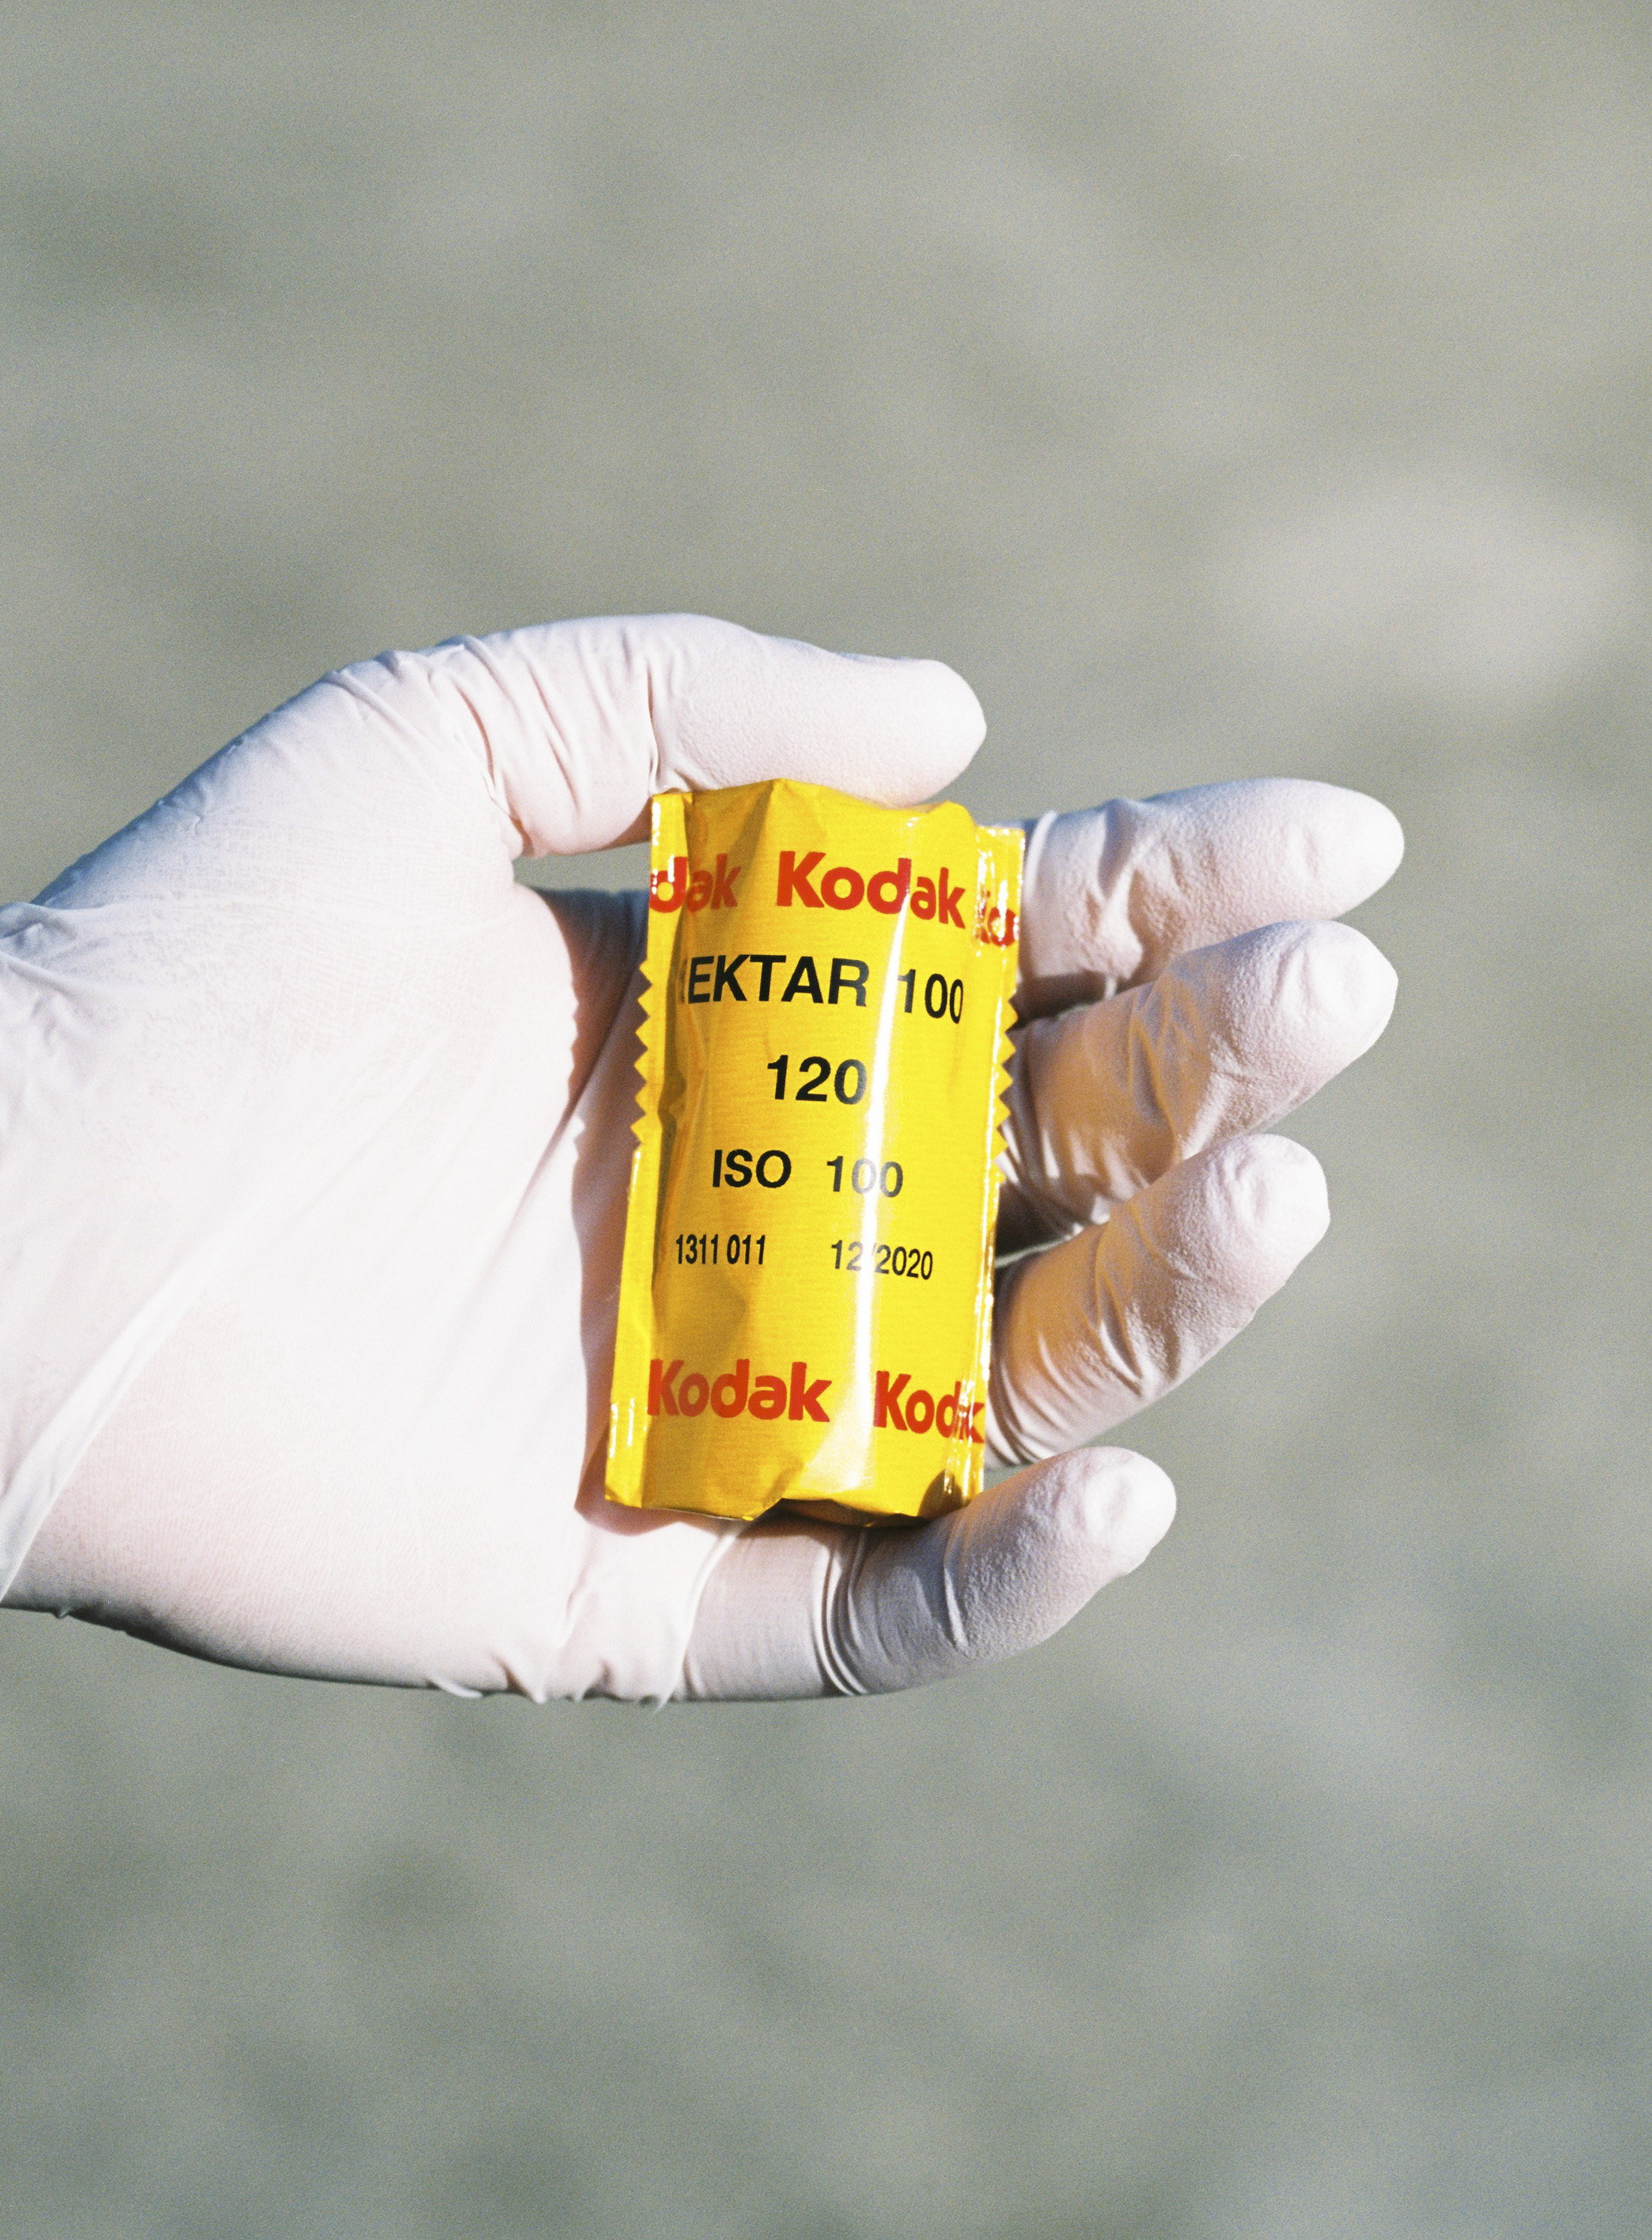
Preparing your 120 film to send to us
120 film was introduced by Kodak more than 118 years ago so it’s about time we get this right!
Every day we see 120 film that has been loaded or sealed incorrectly, so here is our handy guide to 120 film.
120 film is assembled from a long piece of film which is attached to a longer and wider piece of black backing paper with adhesive tape.
This backing paper is used to protect the film from light during loading, unloading shooting and storage.
The most common issues with see with 120 film are rolls that have been shot backwards, not started correctly or not sealed correctly.
If the roll is loaded backwards, all of your photos will be exposed onto the backing paper instead of the film and your roll will come out blank.
If your roll is not lined up with the film starting lines on your camera, some shots may be either partially or fully exposed onto the backing paper. This results in cut off shots, no shots or light leaks at the start of the roll that come about as a result of processing.
Before loading your film double check the loading operation either in your camera’s manual (butkus.org is a good resource for these) or a Youtube tutorial.
This way you’ll get the right number of shots every time.
Step 1
Take the protective plastic off and dispose of responsibly (Easy so far, right?)
Step 2
Remove/discard the paper band sealing the unused film. Pulling the lip to create a small tear makes this a bit easier. If there’s a bit still stuck to the roll, don’t stress.
Step 3
Load your film and shoot.
Be sure to load it the correct way so you’re not exposing your photos onto the backing paper instead of the film. This happens more often than you’d expect and can be pretty heartbreaking.
Every camera is slightly different so check YouTube or the manual for the correct loading procedures for your specific camera
We offer free notes with every single dev and scan order, so if we notice uneven spacing, your roll starting too early, light leaks or anything else we’ll let you know.
Step 4
Great! You’re done. Here comes the hardest part.
Your roll should come out of the camera tightly wound.
Fold the narrower end of the white paper under itself and crease it before sealing the roll.
This small ridge (shown below) makes preparing your rolls for development easy!
If your 120 is sealed flush with the roll and not folded, opening it up in the dark can be pretty tricky! (We’re good, but not that good)
Kodak and Ilford rolls are sealed with tiny bit of moisture, so lick the end of the tape like a stamp before sealing.
Do not use transparent tape when sealing your roll. If you are worried about your rolls coming open, the best thing to use is a small rubber band.
We can quickly remove a rubber band, but finding where your see through tape starts and ends (especially in the dark!) can sometimes be impossible.
Thankfully, Fuji make this process way easier and use a pull apart adhesive strip that does not require moisture (thanks Fuji)
Step 5
That’s it, you’re done. If you’ve skipped to step 5, here’s the gist:
Double check you’re loading your camera correctly
Fold the lip under itself and crease before sealing
Don’t use tape for safety - a rubber band is much better


